I have two telescopes. A Bresser Messier 1200mm F8 Dobson. I bought this from Tejraj in Jan 2021. In Feb 2022 I got another telescope from my BiL who had no use for it and had kept it for almost 10 years. He got it from his cousin. This is a Konusky 200 (Konus) 8-inch scope which came with an EQ-5 equatorial mount.
After I got it from him, it took a while to get used to the new type of mount which wasn’t intuitive at first. After I got accustomed to the mount, I realized the mount came with a motor on the DEC and RA axis, but without a controller. At the point my BiL had no idea if the mount came with a controller back then.
So I decided to make a simple controller that would at least run the RA motor at the sidereal tracking speed. Both axes of the mount are rotated by a worm wheel which is connected to the motor by a gear. After some research I tried making a controller with Auduino and it didn’t work out well.
At this point I came cross the OnStep controller which is an open source GoTo implementation. While I have zero programming skills, I can get my hands dirty. OnStep requires you to have some tinkering and soldering skills which I have plenty of.
Modifying the mount
While I was using the mount, the first issue I faced was the inability of the mount to point to the Polaris from our latitude (13 degrees). I didn’t want to extend the length of the tripod legs (the two legs that pint opposite to the one pointing the north) as a workaround as that may cause imbalance because the scope is almost 10 KGs and you also have counterweights.
In EQ mounts, there are two latitude adjusting screws - one at the front and the other in the rear. I just removed the front screw along with the metal holder that holds it. Now I’m able to see Polaris in the polar scope.
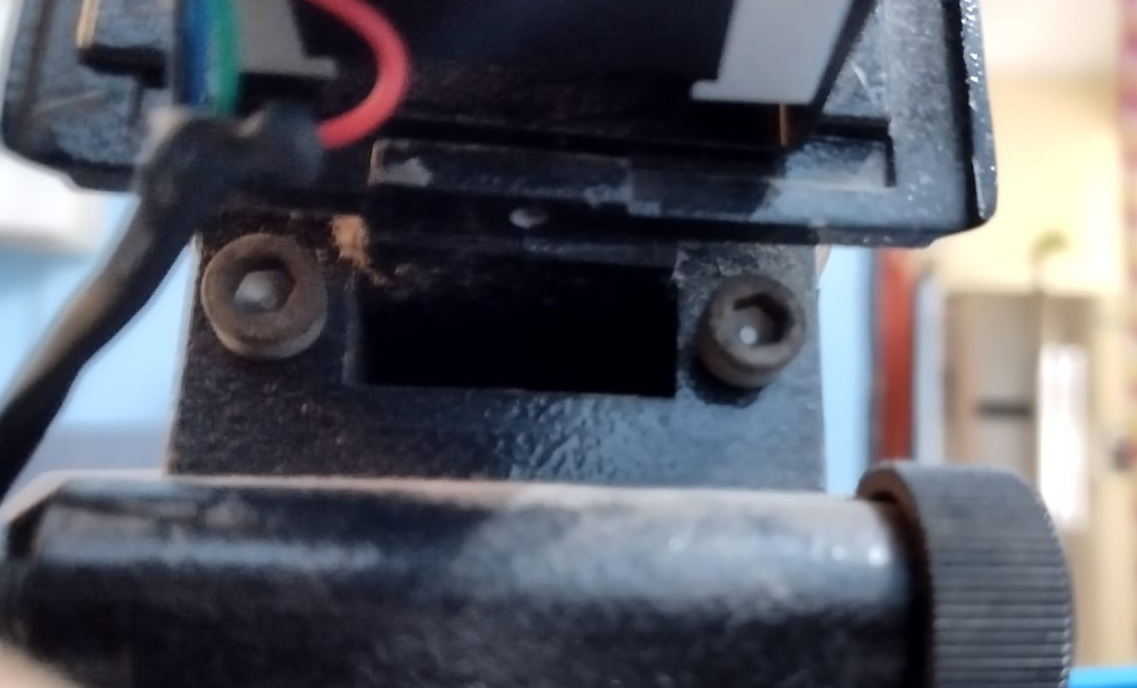
But this modification has introduced another problem - counter weights hitting the tripod legs. However, I have found a temporary solution. I install the weights just above the point where it hits the leg and install another 2kg weight. This balances the whole thing.
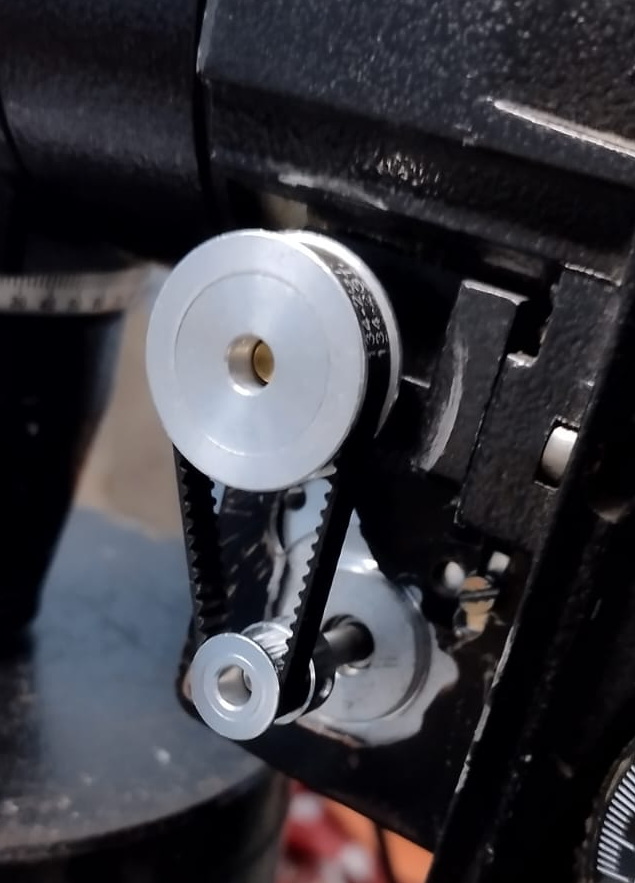
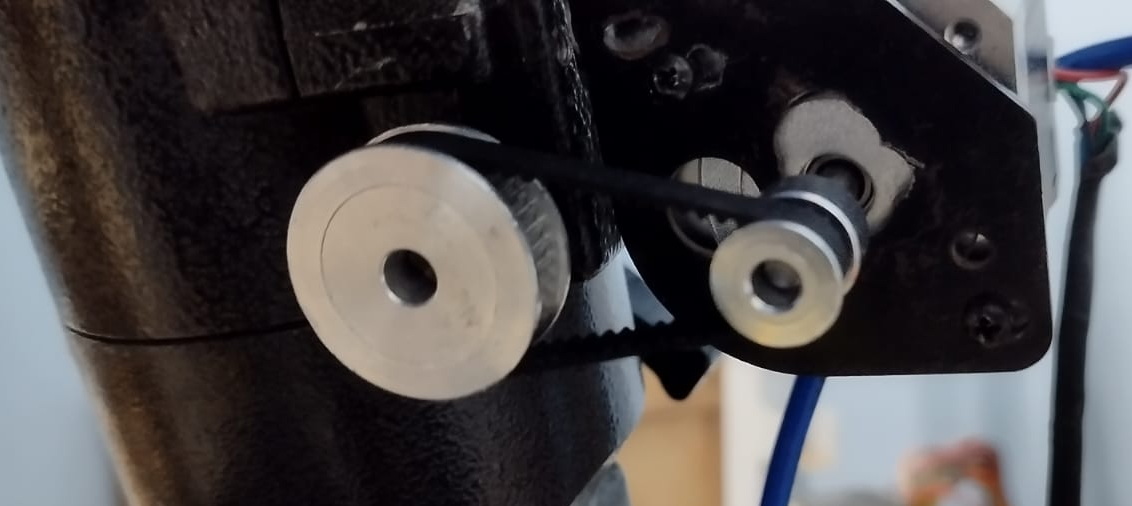
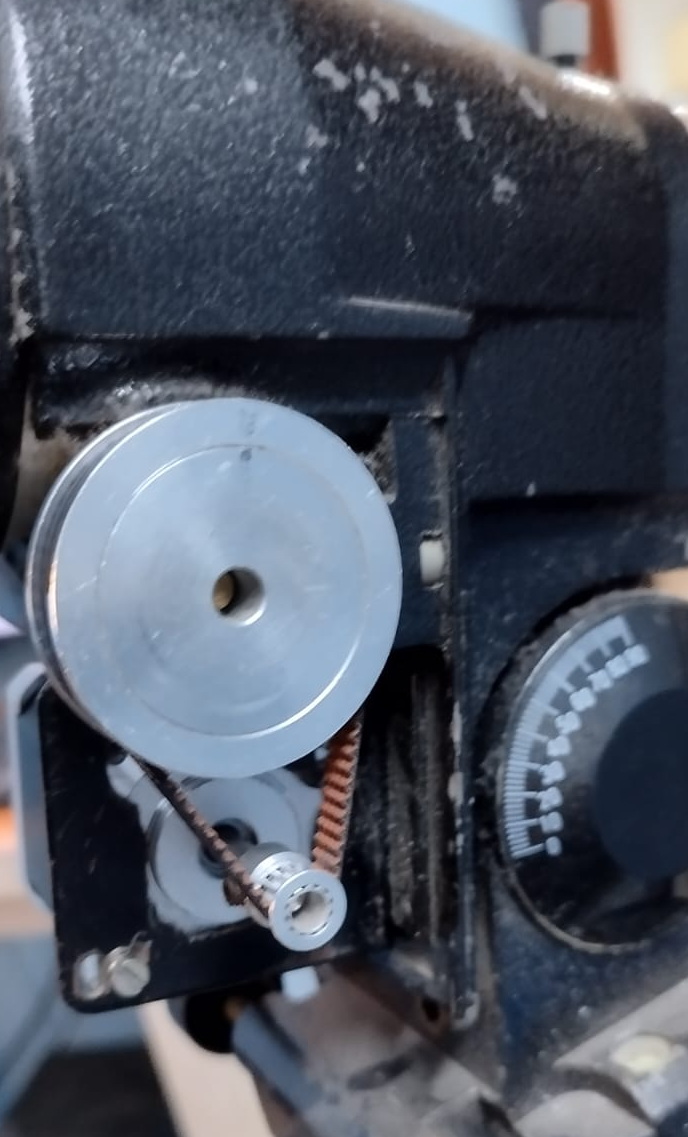
When I first started researching for the conversion, the first thing I noticed on forums was most people had removed the gears and installed belts and pulleys. That is, instead of the motor rotating the worm wheel directly with a gear, a belt now transfers the rotation from the motor to the worm wheel. Using a belt greatly reduces backlash between gears.
This is how it looked like before: Check out the second image.
After modification:
RA axis:
Dec Axis:
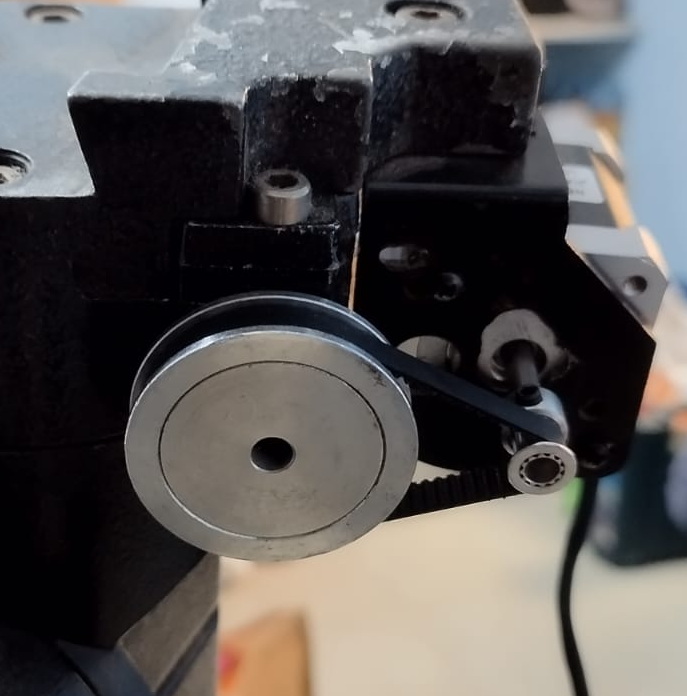
(I’m currently changing the gear ratio to 2.5 with 40 and 16 teeth pulleys. I have ordered a shorter belt which will take some time to reach.)
Since the mount was idle for a long time, I completely dismantled it and greased both axes including the bearings. In the next few weeks or months, I’m planning to change the bearings as well.
OnStep conversion
At this point, there are two things I have to do. Change the motors and build the controller.
While we can use the stock motors, they are geared and hence very slow for slewing. They may be okay for visual but not for AP. So I bought hybrid stepper motors. People at OnStep recommend using 400 step motors. But when I was building it I could only get 200 step motors. A 200 step motor takes 200 steps to complete a full rotation of the shaft.
For AP, they recommend a minimum of 12800 steps per one degree rotation in the sky.
So how do we get 12800 steps or more? This is where the number of teeth in pulleys, microsteps in the motor, and the reduction (the number of teeth) that is built into the rotator of the axes (I don’t know what it’s called) come in to play. In my mount, rotator of the axes has 144 teeth. I selected a gear ratio of 5 (12 teeth in the small pulley on the motor and 60 teeth in the large pulley on the worm wheel). Each step in a stepper motor can also be broken into micro steps, such as 2, 4, 8, 16, 32, 64, and so on.
So in my case, if I use 32 micro steps, 32x200x5x144/360=12,800. I have been using this setup for the last one year.
The controller
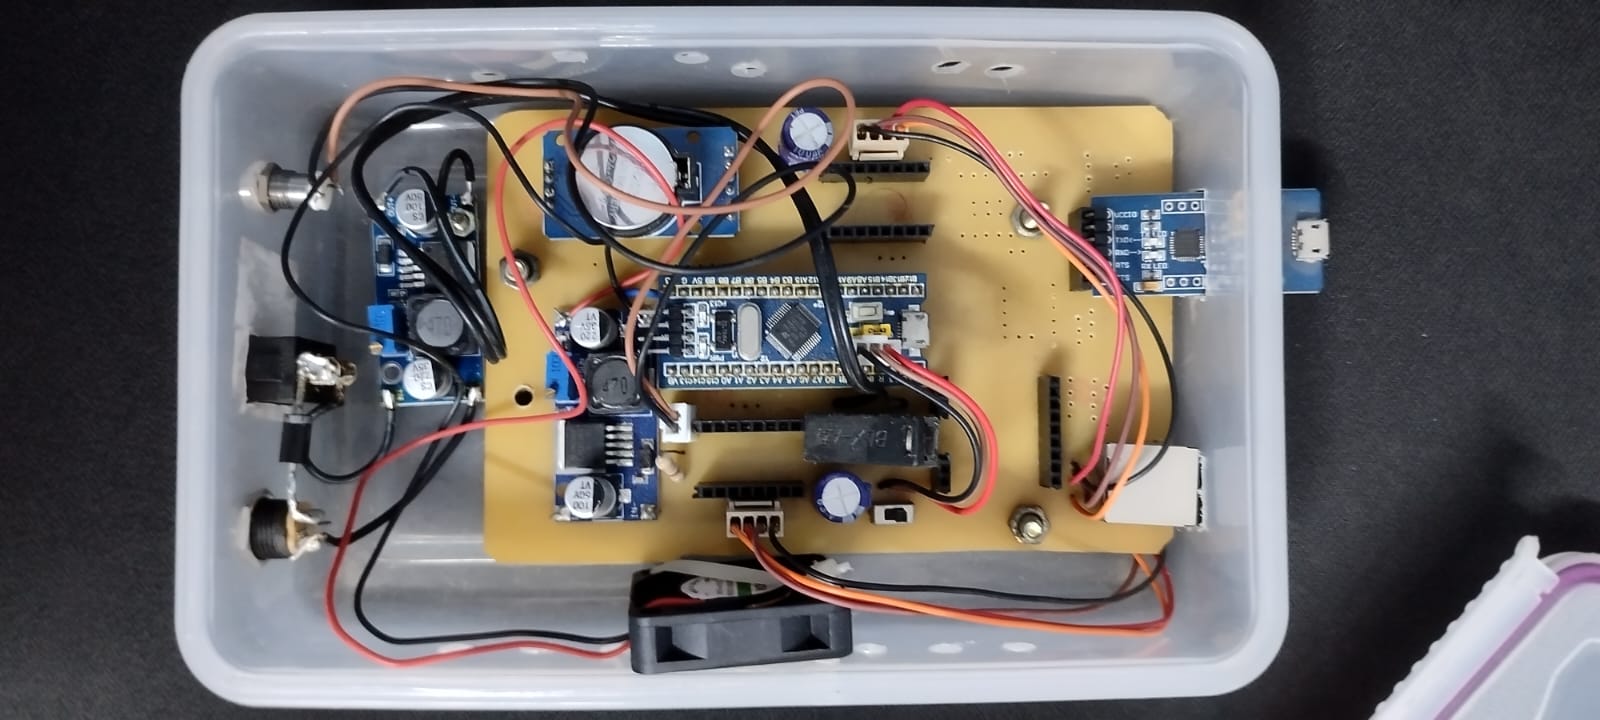
OnStep provides us with several choices. Some of them use 3D printer boards as the controller and others are custom-made PCBs. I chose to use The STM32 Blue Pill. This one is very cheap, has good documentation, and most importantly, most of the traces in the PCB is at the bottom, meaning I could etch my own PCB with minimal modification. So I etched the PCB with the toner transfer method.
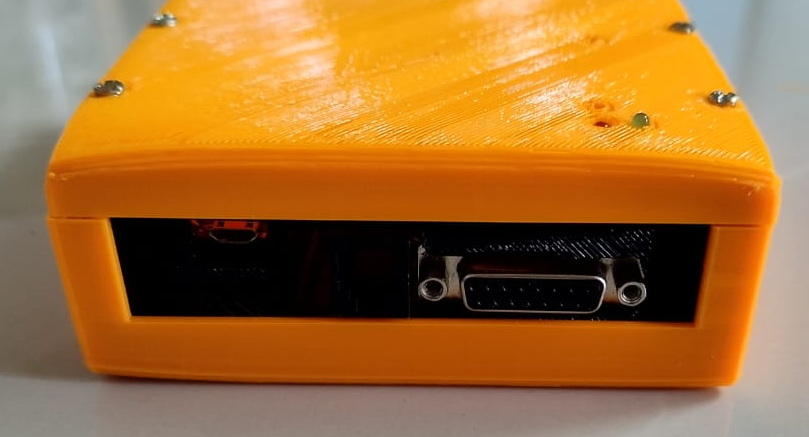
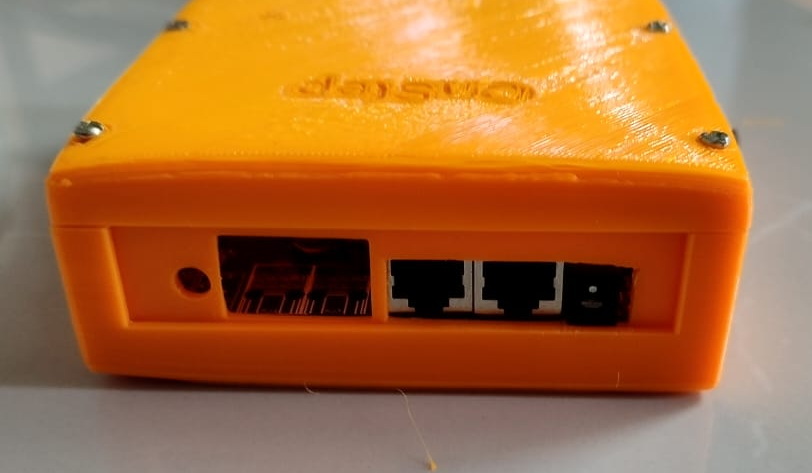
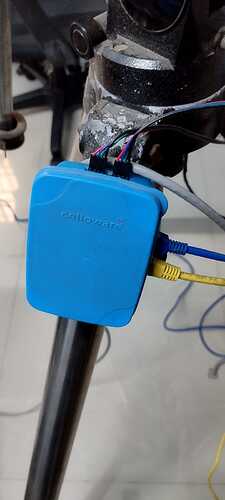
Here is the assembled controller:
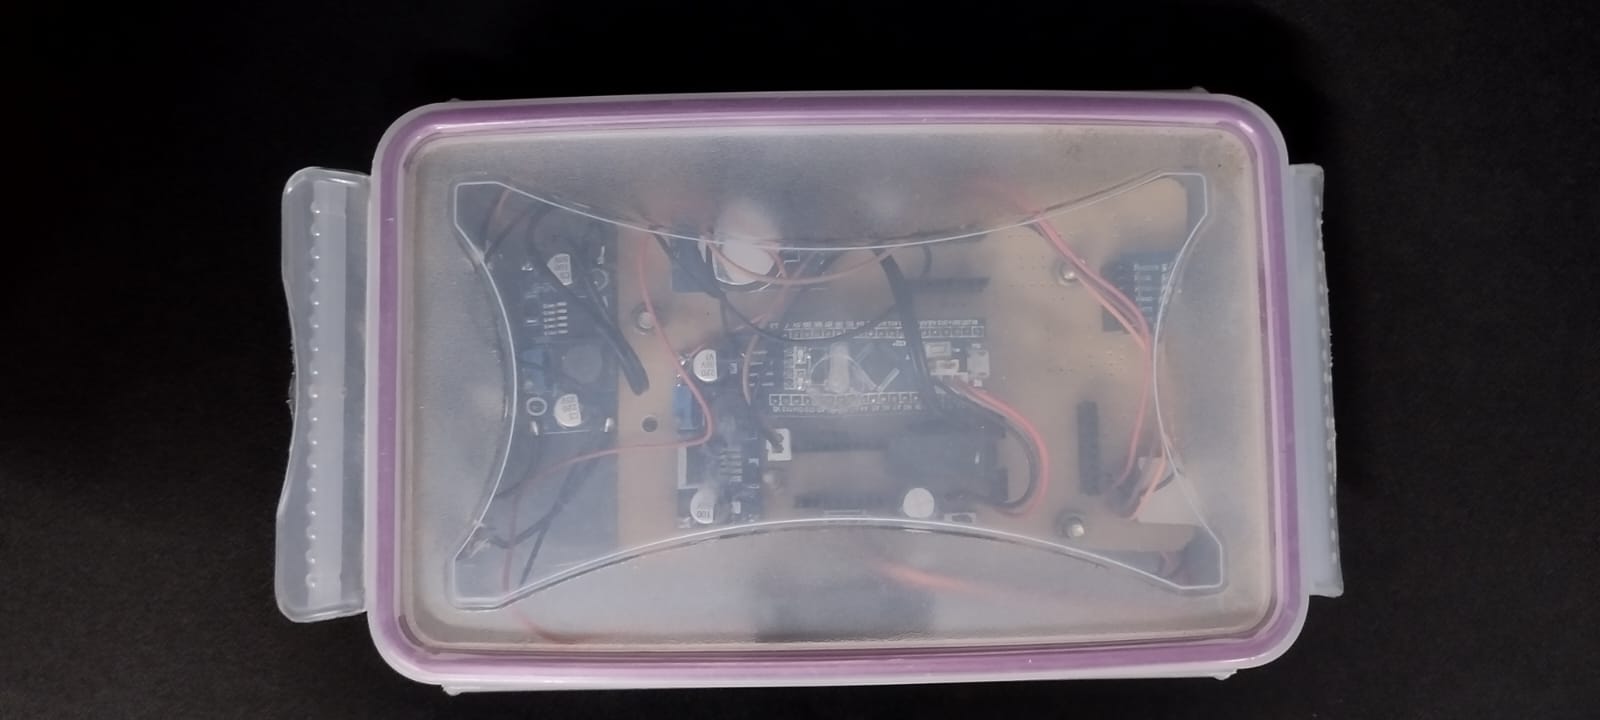
You can control the telescope through WiFi (which I do most of the time) and USB. The OnStep app is pretty good to control the telescope. However, you can also control the telescope through Stellarium app.
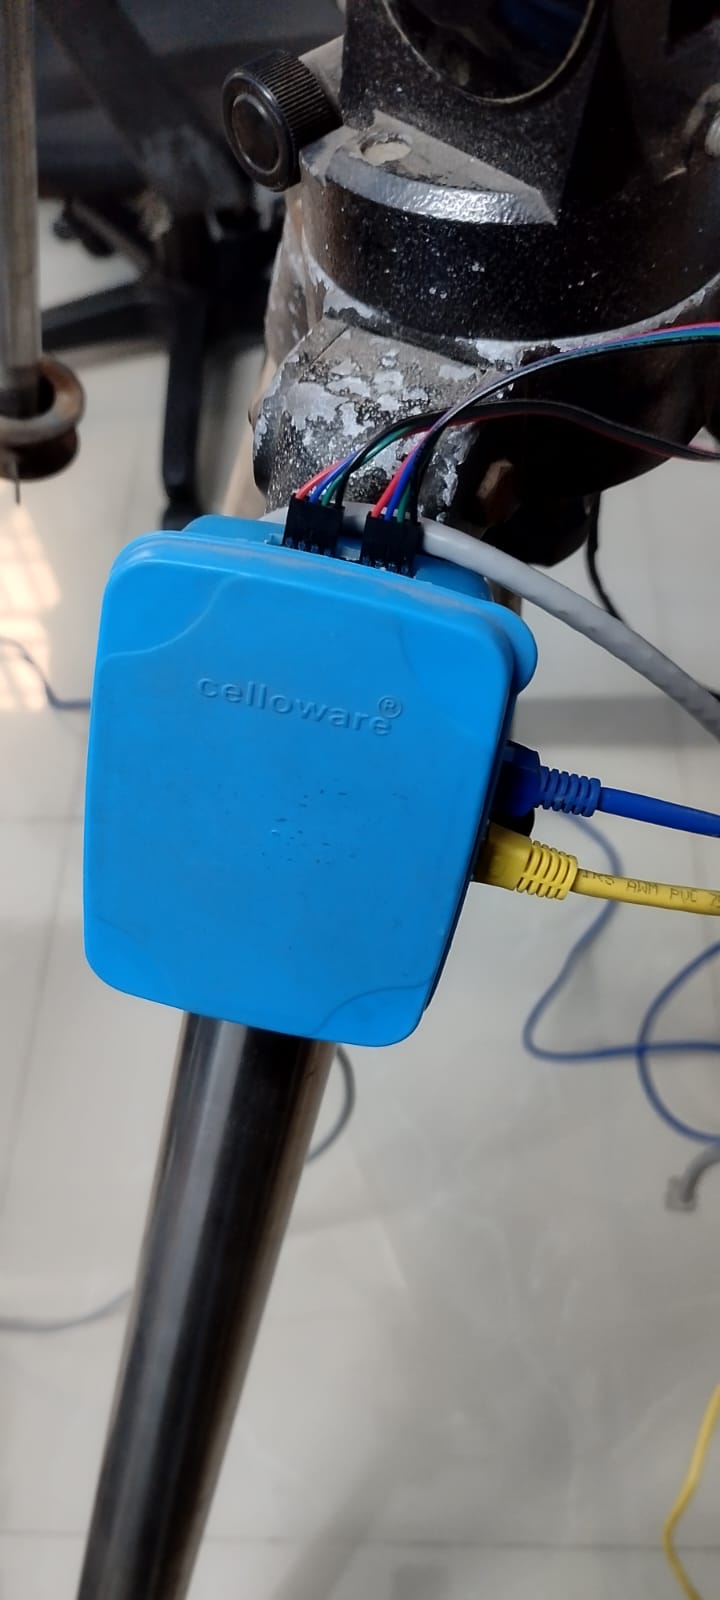
The output to the motor from the controller is through two RJ45 ports. They are connected to the motor cables through another box I made. (The photos above show only one RJ45 port and that’s how I modified my “BluePill” controller. But in the upgrade below, I use two.)
OnStep also has an ASCOM driver to make it work with most of the Windows apps. I tried NINA, Stellarium, Sky Planetarium, Firecapture, and Sharpcap. They all work well.
An upgrade to the existing set up
After making the “Blue Pill PCB” controller, I was itching to do a few things. The 200-step motor was not very smooth (but workable). The bigger pulley was obstructing the RA axis from fully rotating because the DEC tightening knob was hitting the pulley, temporarily damaging the belt setup causing me to waste many clear nights.
So, in July, I decided modify the gear ratio so that the DEC knob won’t hit the larger pulley. To do that, I had to upgrade the motors as well with 400 steps. Luckily, I was able to find a 400 step motor online. I got 16 teeth and 40 teeth pulleys which will give me a ratio of 2.5. With the 400-step motor, I’ll have the same 12, 800 steps per degree. I can also increase the microsteps to 64 to get even smoother tracking, theoretically. I might even try 128 microsteps one day ![]() .
.
Then I thought to myself: “since I’m gonna make these changes, why not upgrade the controller itself?” Though the current controller was fine, I went ahead for a controller upgrade.
As I’m upgrading anyway, I chose a controller which is the most powerful with all nitty-gritties, even though I won’t be using many of the features. This time I’m going for the MaxPCB4. This is a Teensy 4.1 board-based controller and I could see that I could source most of the components. This was going to be my first ever SMT project.
The first hurdle is making the PCB. It’s double-sided and modifying it to single side will be a little difficult. That’s when I noticed that at robu.in, you could get your PCB manufactured. So I downloaded the PCB gerber files and sent them for manufacturing. I had to order in multiples of five, so I had to order 5. In a couple of weeks, I got the PCBs nicely manufactured.
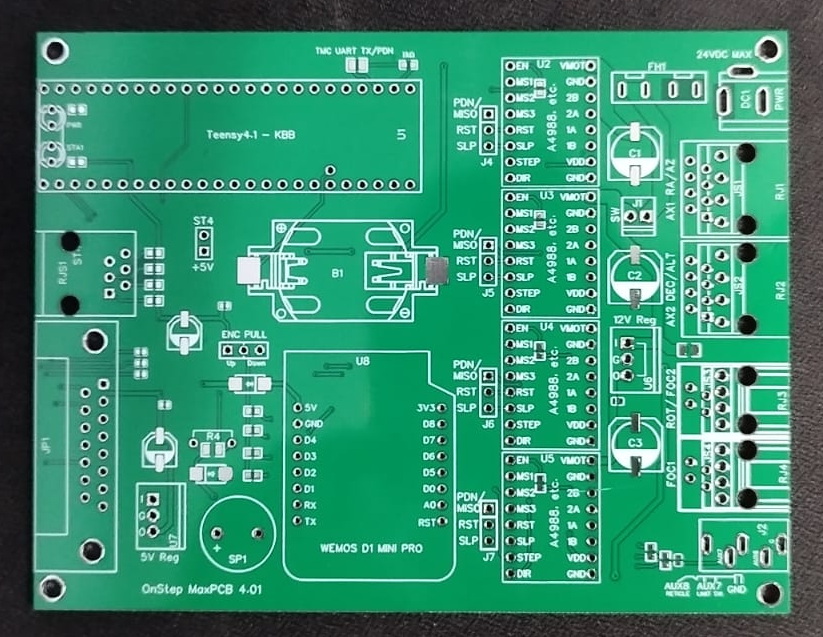
Here is the finished controller. There are a few components I haven’t soldered because I won’t need them for my purposes (actually the component was so small I couldn’t solder it).
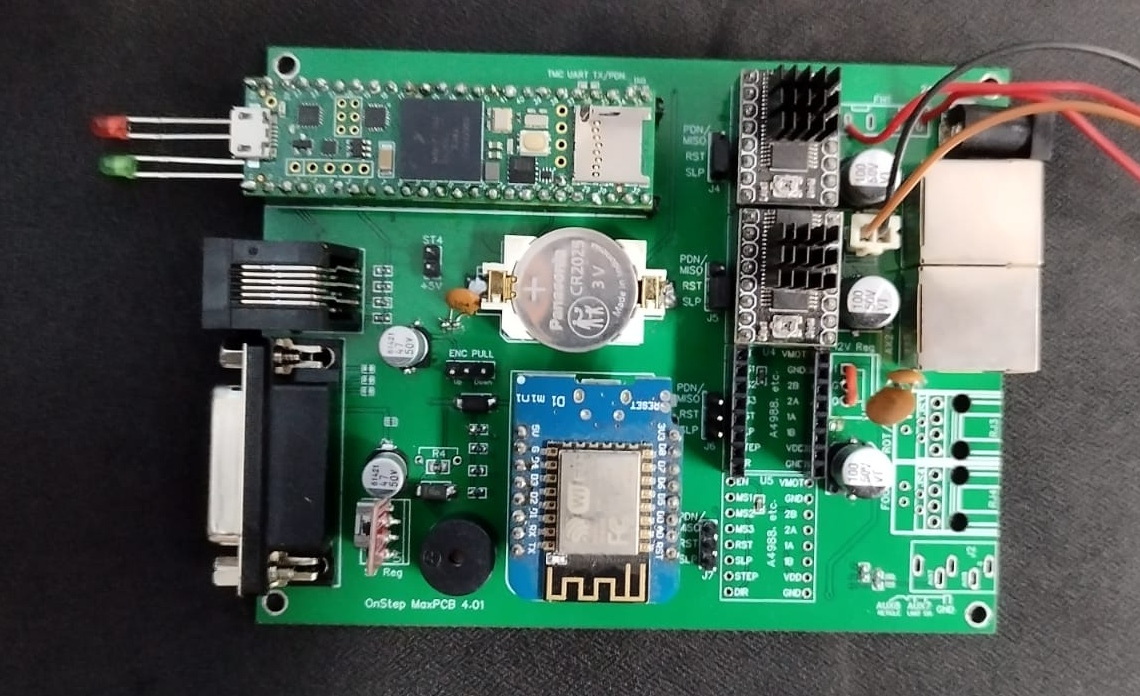
The port next to the two LEDs on the left is the ST4 port for autoguiding.
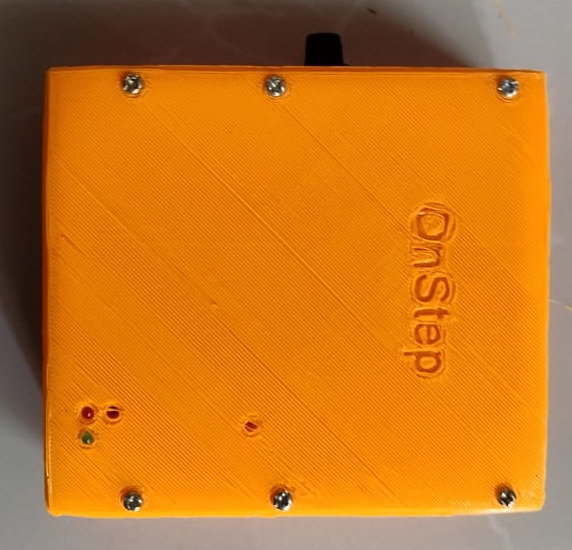
I thought of 3D printing a box for it (the files for that are available on the OnStep site) but changed my mind and now ordered a regular box on Amazon.
Hand controller
There is also an OnStep Smart Hand Controller. I have already made it but yet to fully check if it’s working correctly. I’ll update this page once that is done.
Future plans:
Immediate future: Paint the mount ![]() .
.
Immediate future: Change the RA bearings. There are no bearings in the DEC axis.
Focuser
Install Periodic Error Correction (PEC) sensors.
3D printed case.
Metal 3D printed motor holders, if possible.
A pier.
P.S: It’s not an easy process. I spent several days and nights just to try and understand how the whole thing works. And it took almost two months to complete the project. And it also requires lots of patience and troubleshooting. If you are interested in converting your mount, be prepared to take a lot of effort. But in the end it’s worth it. If done diligently, the conversion is much cheaper than commercial options.
Thanks for reading,
Vijay