In Chennai, I almost had no need for a dew heater. Even during the colder months, I never noticed dew on the equipment. This is true at least for my AP rig. I don’t usually observe the sky for more than three hours from my terrace, so I’m not sure if dew is really a problem during the night time. But it gets ugly when you simply go out of the city.
So I decided to make a DIY dew heater. There are mainly two options for DIY:
- Using a nichrome wire
- Using resistors
I went the resistor route because, it’s easy, and there is less chance of shorting. I’m also making the heater for 24v as my DIY GoTo is 24v.
Here is what you need to make it:
-
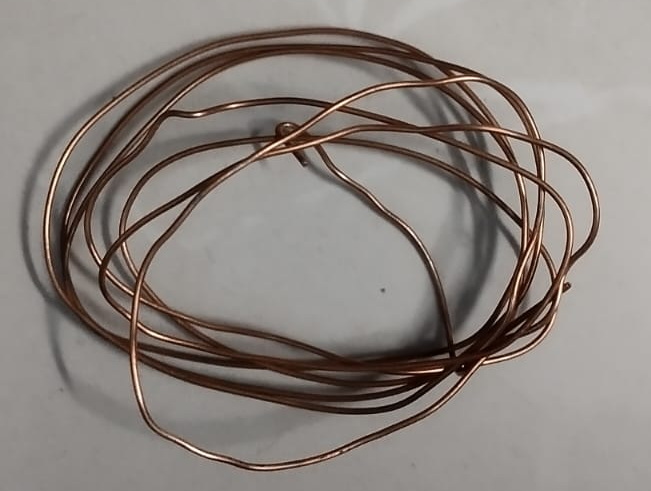
Copper wire like this. This is around 1.5mm in diameter. If possible get 1mm which should be sufficient. Mine is a little rigid as it’s thick.
-
1k ohm resistors 1W. If you are using 12v, you can reduce the resistance to around 500 ohm 1/2W.
-
24v/12v power supply.
-
Either a voltage buck converter or a PWM motor controller as shown here. A controller with an adjustable knob will really help control the temperature, depending on the condition.
-
A box for the controller. I 3D printed mine.
-
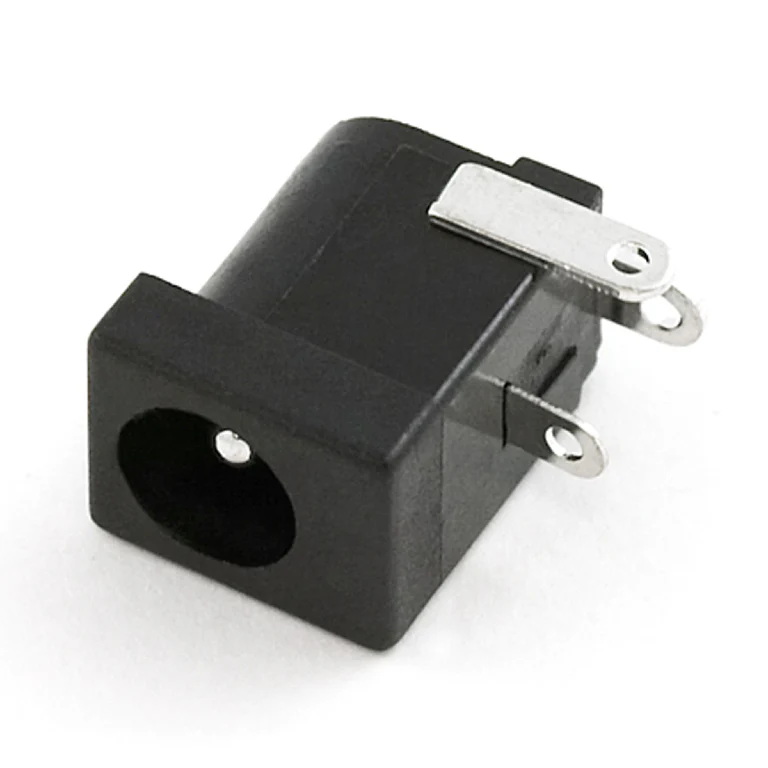
A few DC power sockets and jacks as needed. The following one is to solder within the dew heater. Get the through-hole sockets for the controller.
-
Duct tape.
-
Old cloth.
-
A soldering kit
-
Velcro
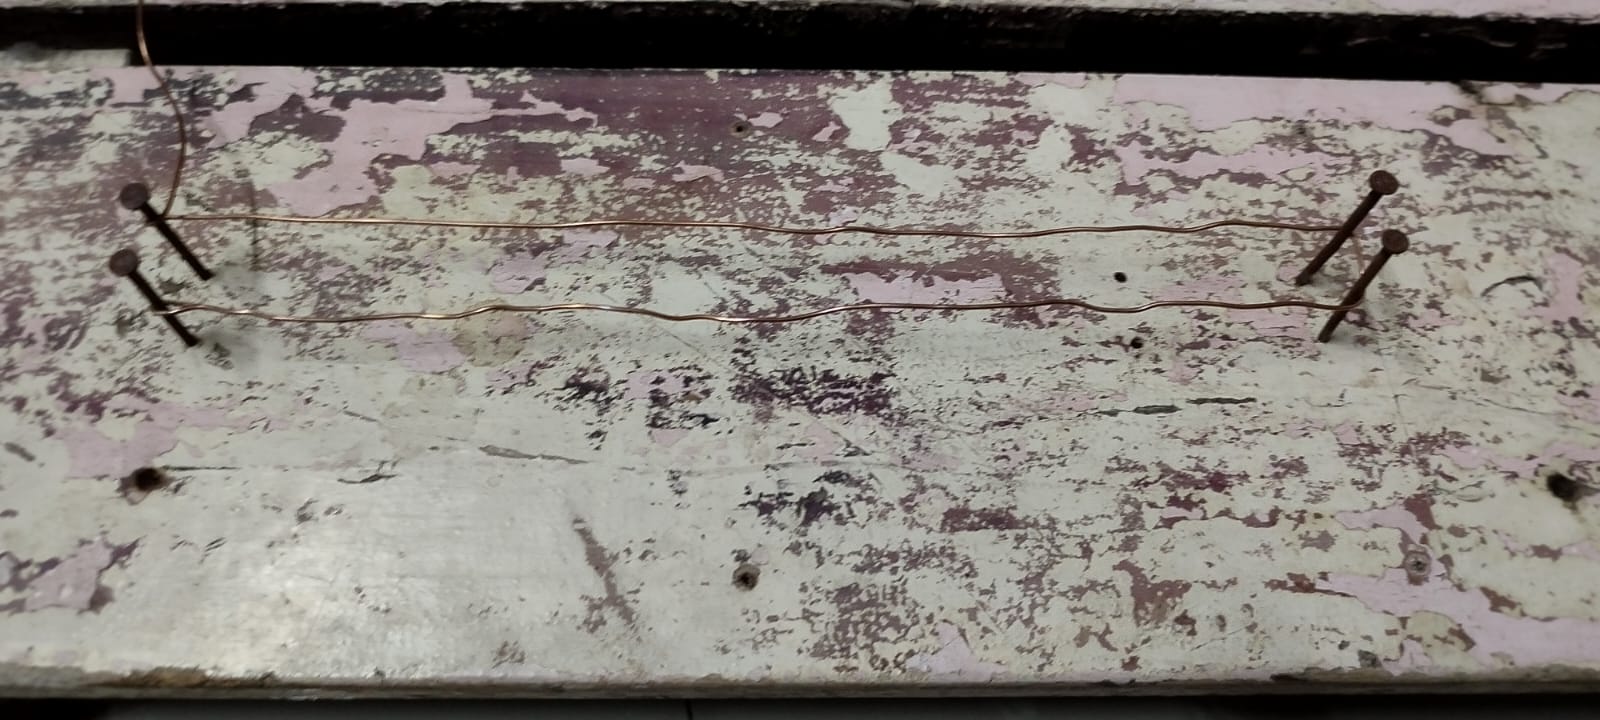
On a wooden board, hammer four nails and fix the copper wire as shown.
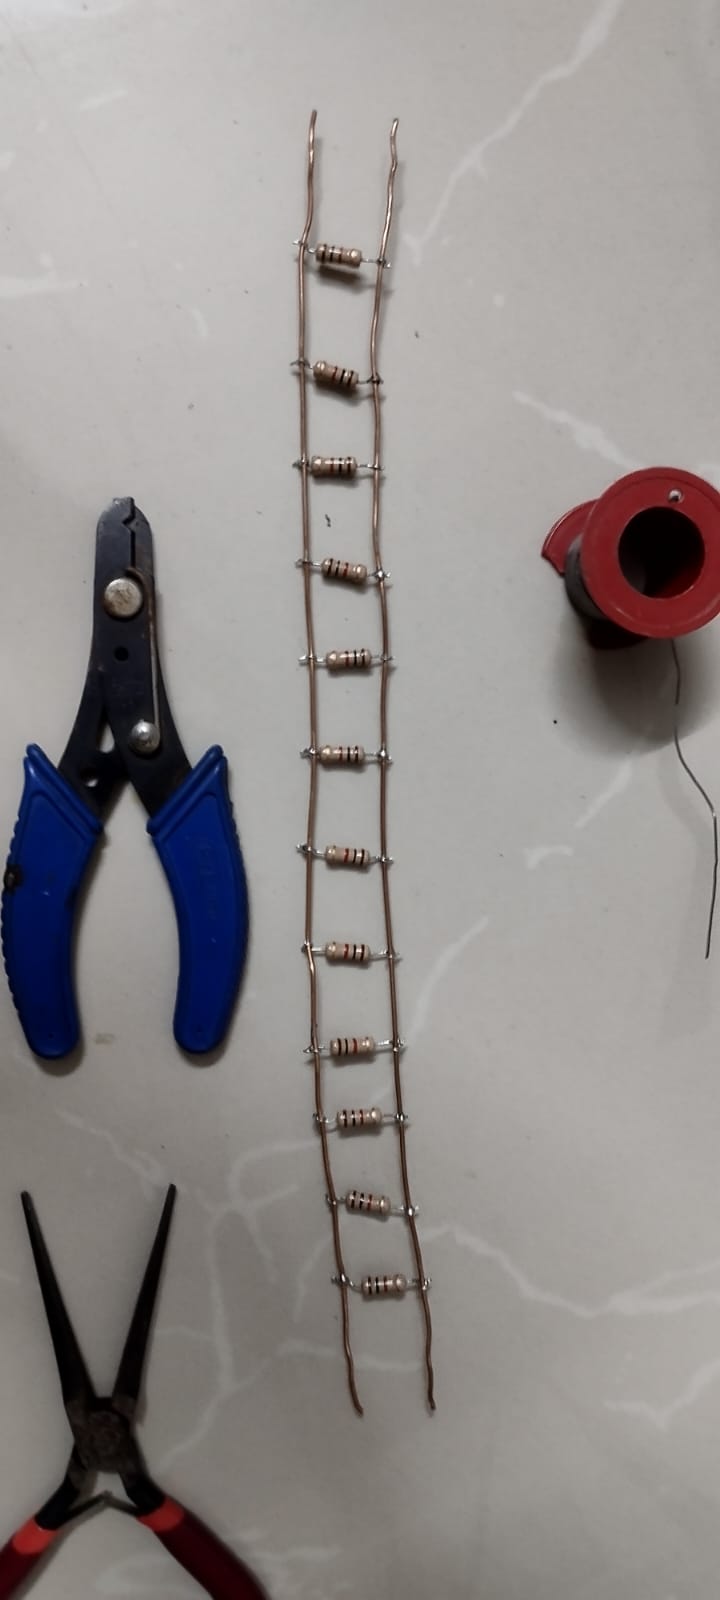
Solder the required number of resistors (I wound the resistor leads once on the copper wire). For my William Optics Z73, I soldered 14 (12 shown in pic). You can get the final resistance with this formula (for equal value resistors): Resistor value/total number of resistors. I my case, 100/14 =~ 71 ohms. P=V^2/R. So power=24*24/71=8W. We don’t need that much power.So we are using a controller.
Solder the DC socket to the resistor network.
Place the duct tape on a flat surface and place a piece of cloth as shown below. I’m using a cloth so that any sharp edges in the resistor network won’t pierce/damage the tape.
Place the resistor network on the cloth and place a cloth of similar size on top of the resistor network. Close the resistor network with the tape. I don’t have a photo for this step.
Glue one part of the Velcro to the dew heater and glue the other part of the Velcro on the other side:
Here is the controller:

Notes
- You don’t need so much power. I’m over spec’ing it. You can control the power with the controller.
- Start from the lowest power.
- You may try a different resistor value.
- If you do a dew heater with a nichrome wire, please post your make on the forum.
- I’ll update this post later with the making of the controller.