For years, I’ve been captivated by the breathtaking beauty of the night sky especially the Moon and wanted to capture the beauty in HD.
Well if you have ever thought about the same, here is my 2 Cents for a weekend DIY project.
Why a DIY Camera ?
While there are tons of affordable solutions available out there, especially dedicated AstroCam with custom lens, I still wanted to explore an alternate solution to solve 2 things in mind.
A portable multipurpose Camera that can be used for Astrophotography & Surveillance
You could still achieve the same with your existing AstroCam, however I wanted to keep the cost in mind as well & settled with Raspberry HQ Camera.
Why Raspberry PI ?
Raspberry PI is an ecosystem of ARM based Single Board Computer & Accessories that can fit in your palm and its capable of performing decent computation with less power, Raspberry PIs can be powered using power banks and it can run for a whole night !!. This is a good candidate for Night Sky Timelapse, alternate ASI Air alike system & you could do much more with it.
will park this topic for now, much more on that later on…
Lets look at the Gear !
Raspberry HQ Camera:
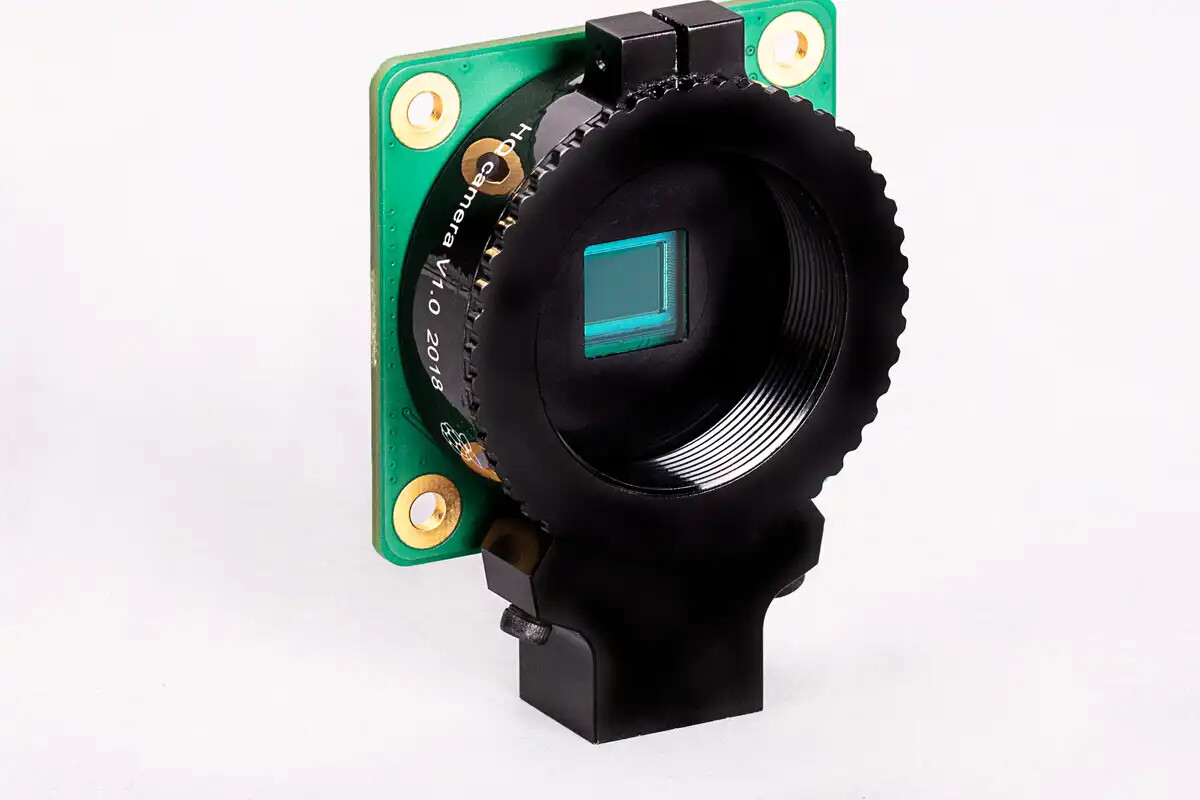
This little beast is powered by Sony IMX477R Sensor with 12.3 megapixels, 7.9 mm sensor diagonal, 1.55 μm × 1.55 μm pixel size. Not much comparatively wrt Astrocams, but still its enough for planetary.
With its excellent low-light capabilities and the versatility of the Raspberry Pi ecosystem, it seemed like the perfect foundation for a DIY astrophotography rig.
My primary goal was to create a setup that was:
- Affordable: Significantly cheaper than dedicated astronomy cameras.
- Relatively Portable: Easy to set up and transport to dark sky locations.
- A Learning Experience: A hands-on project to deepen my understanding of astrophotography.
- OS Independent: A Cross platform solution that can work on any OS, Android, MAC, Linux & Windows.
Part Lists:
Camera:
CSI to USB Converter:
C/CS to 1.25" adaptor
If you are planning to build the whole system around Raspberry pi you need not buy the CSI to USB converter, since the Camera is built to connect with any Raspberry pi SBC using CSI Ribbon cables.
But I wanted to keep this solution as a plug n play and OS Independent, hence the choice of Converter
The Build:
The build process is straight forward and all you need is to connect the cables and mount the adaptors with the mount that it comes with.
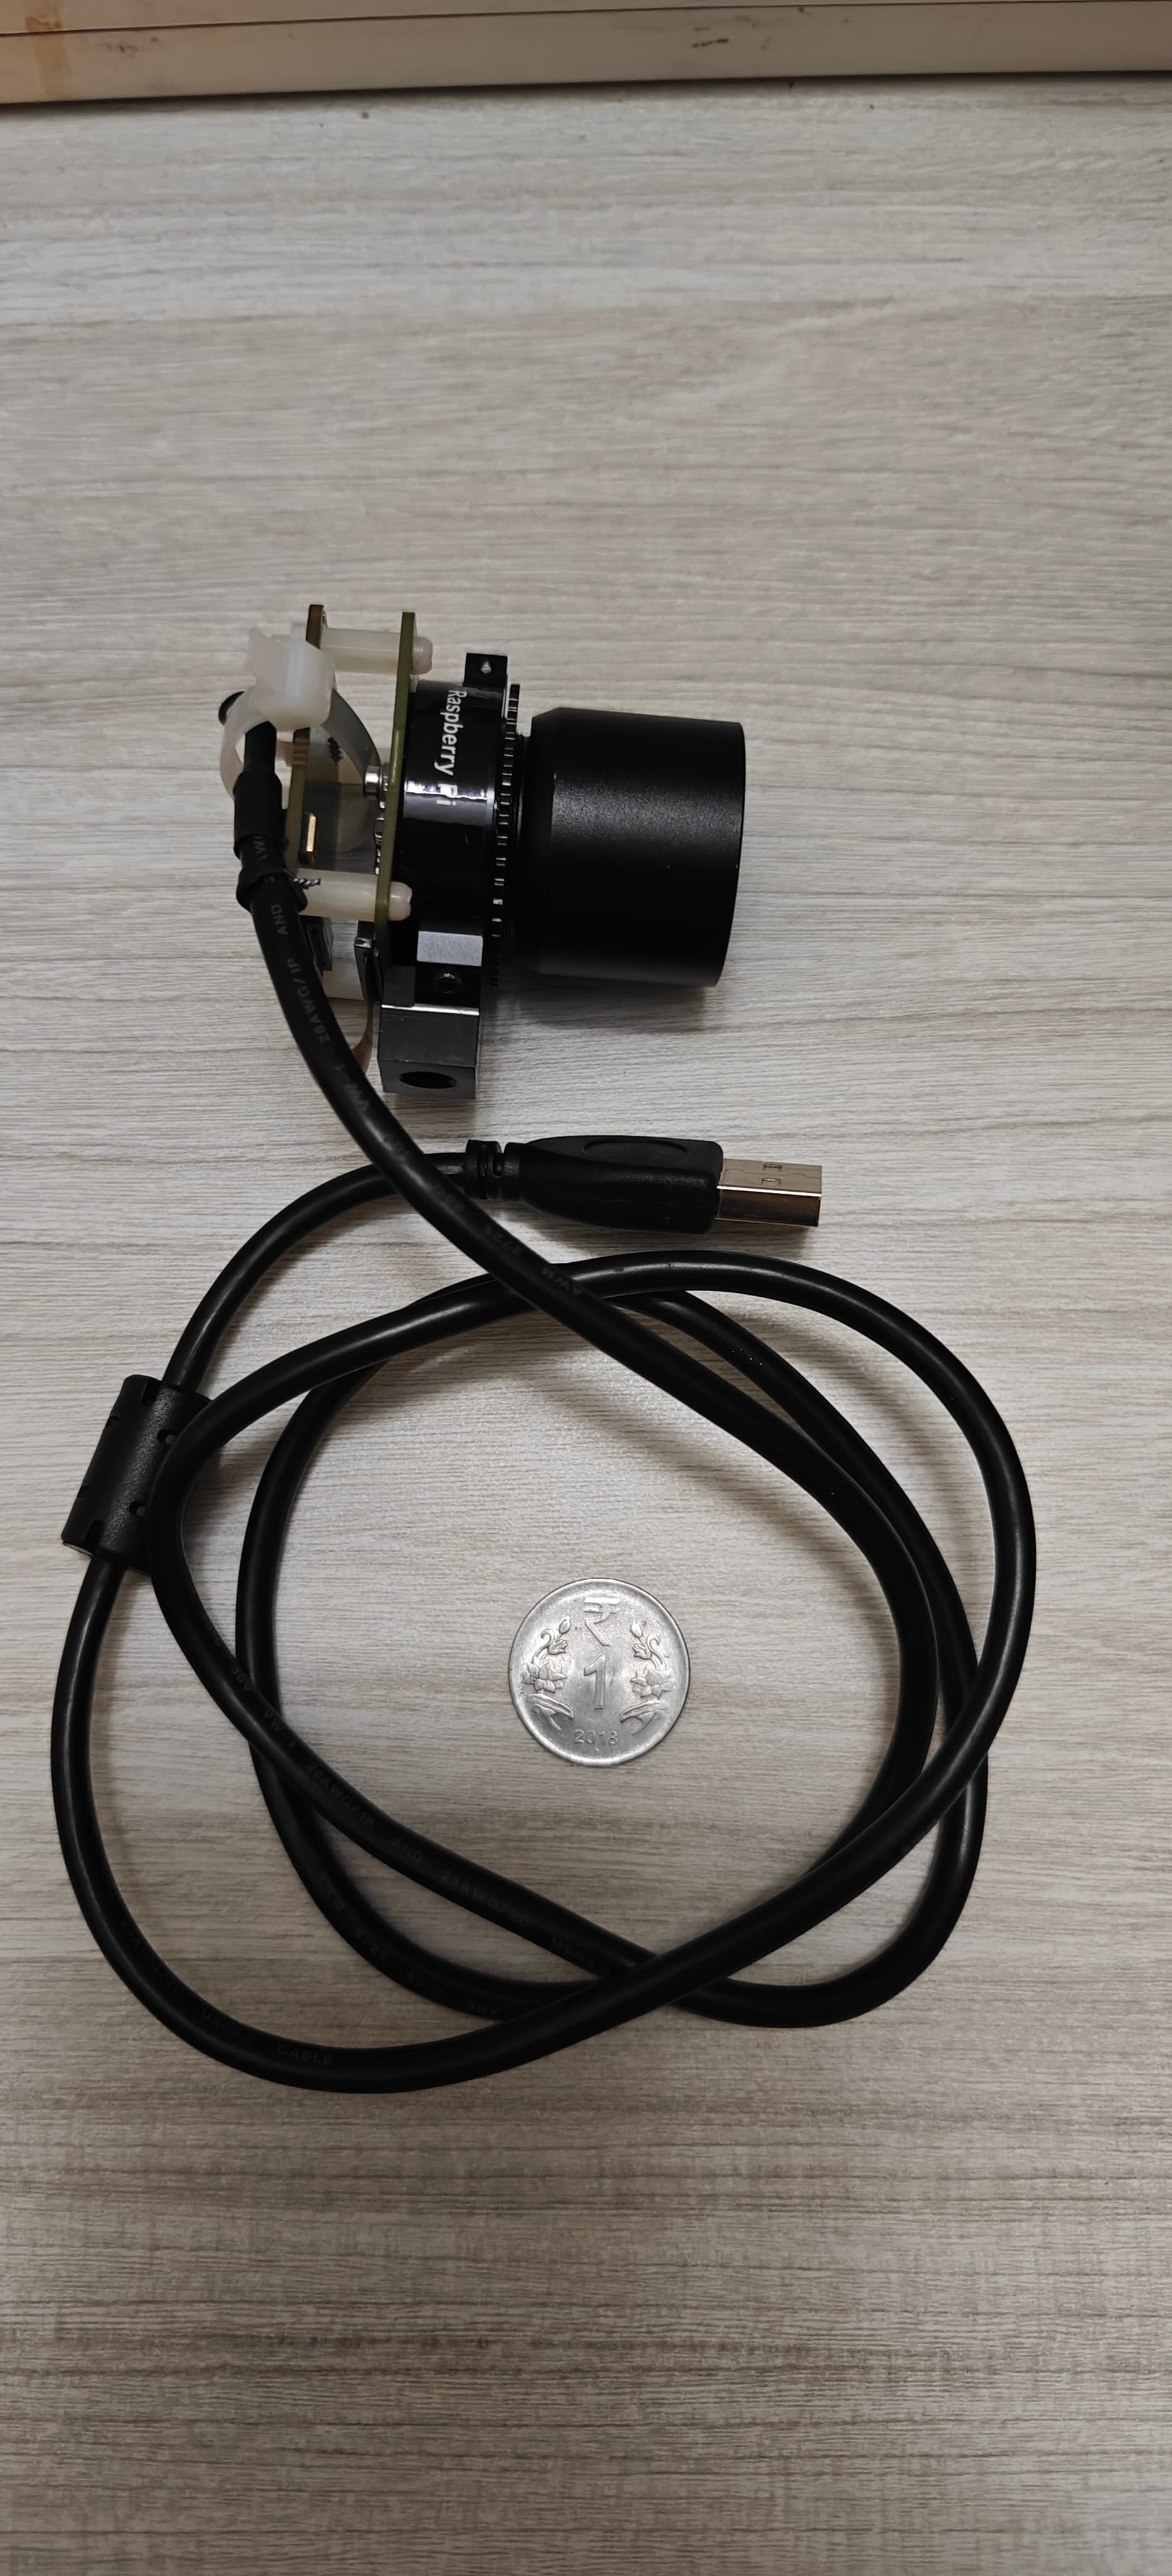
Connectivity
The whole setup fits in your palm and it can be hooked up to any system without a hassle, Just connect the USB cable to your PC and you are good to go. You don’t need additional drivers/softwares and you can use this camera as an AstroCam with your favourite Capturing Softwares like Sharpcap, AstroDMX, NINA Etc…
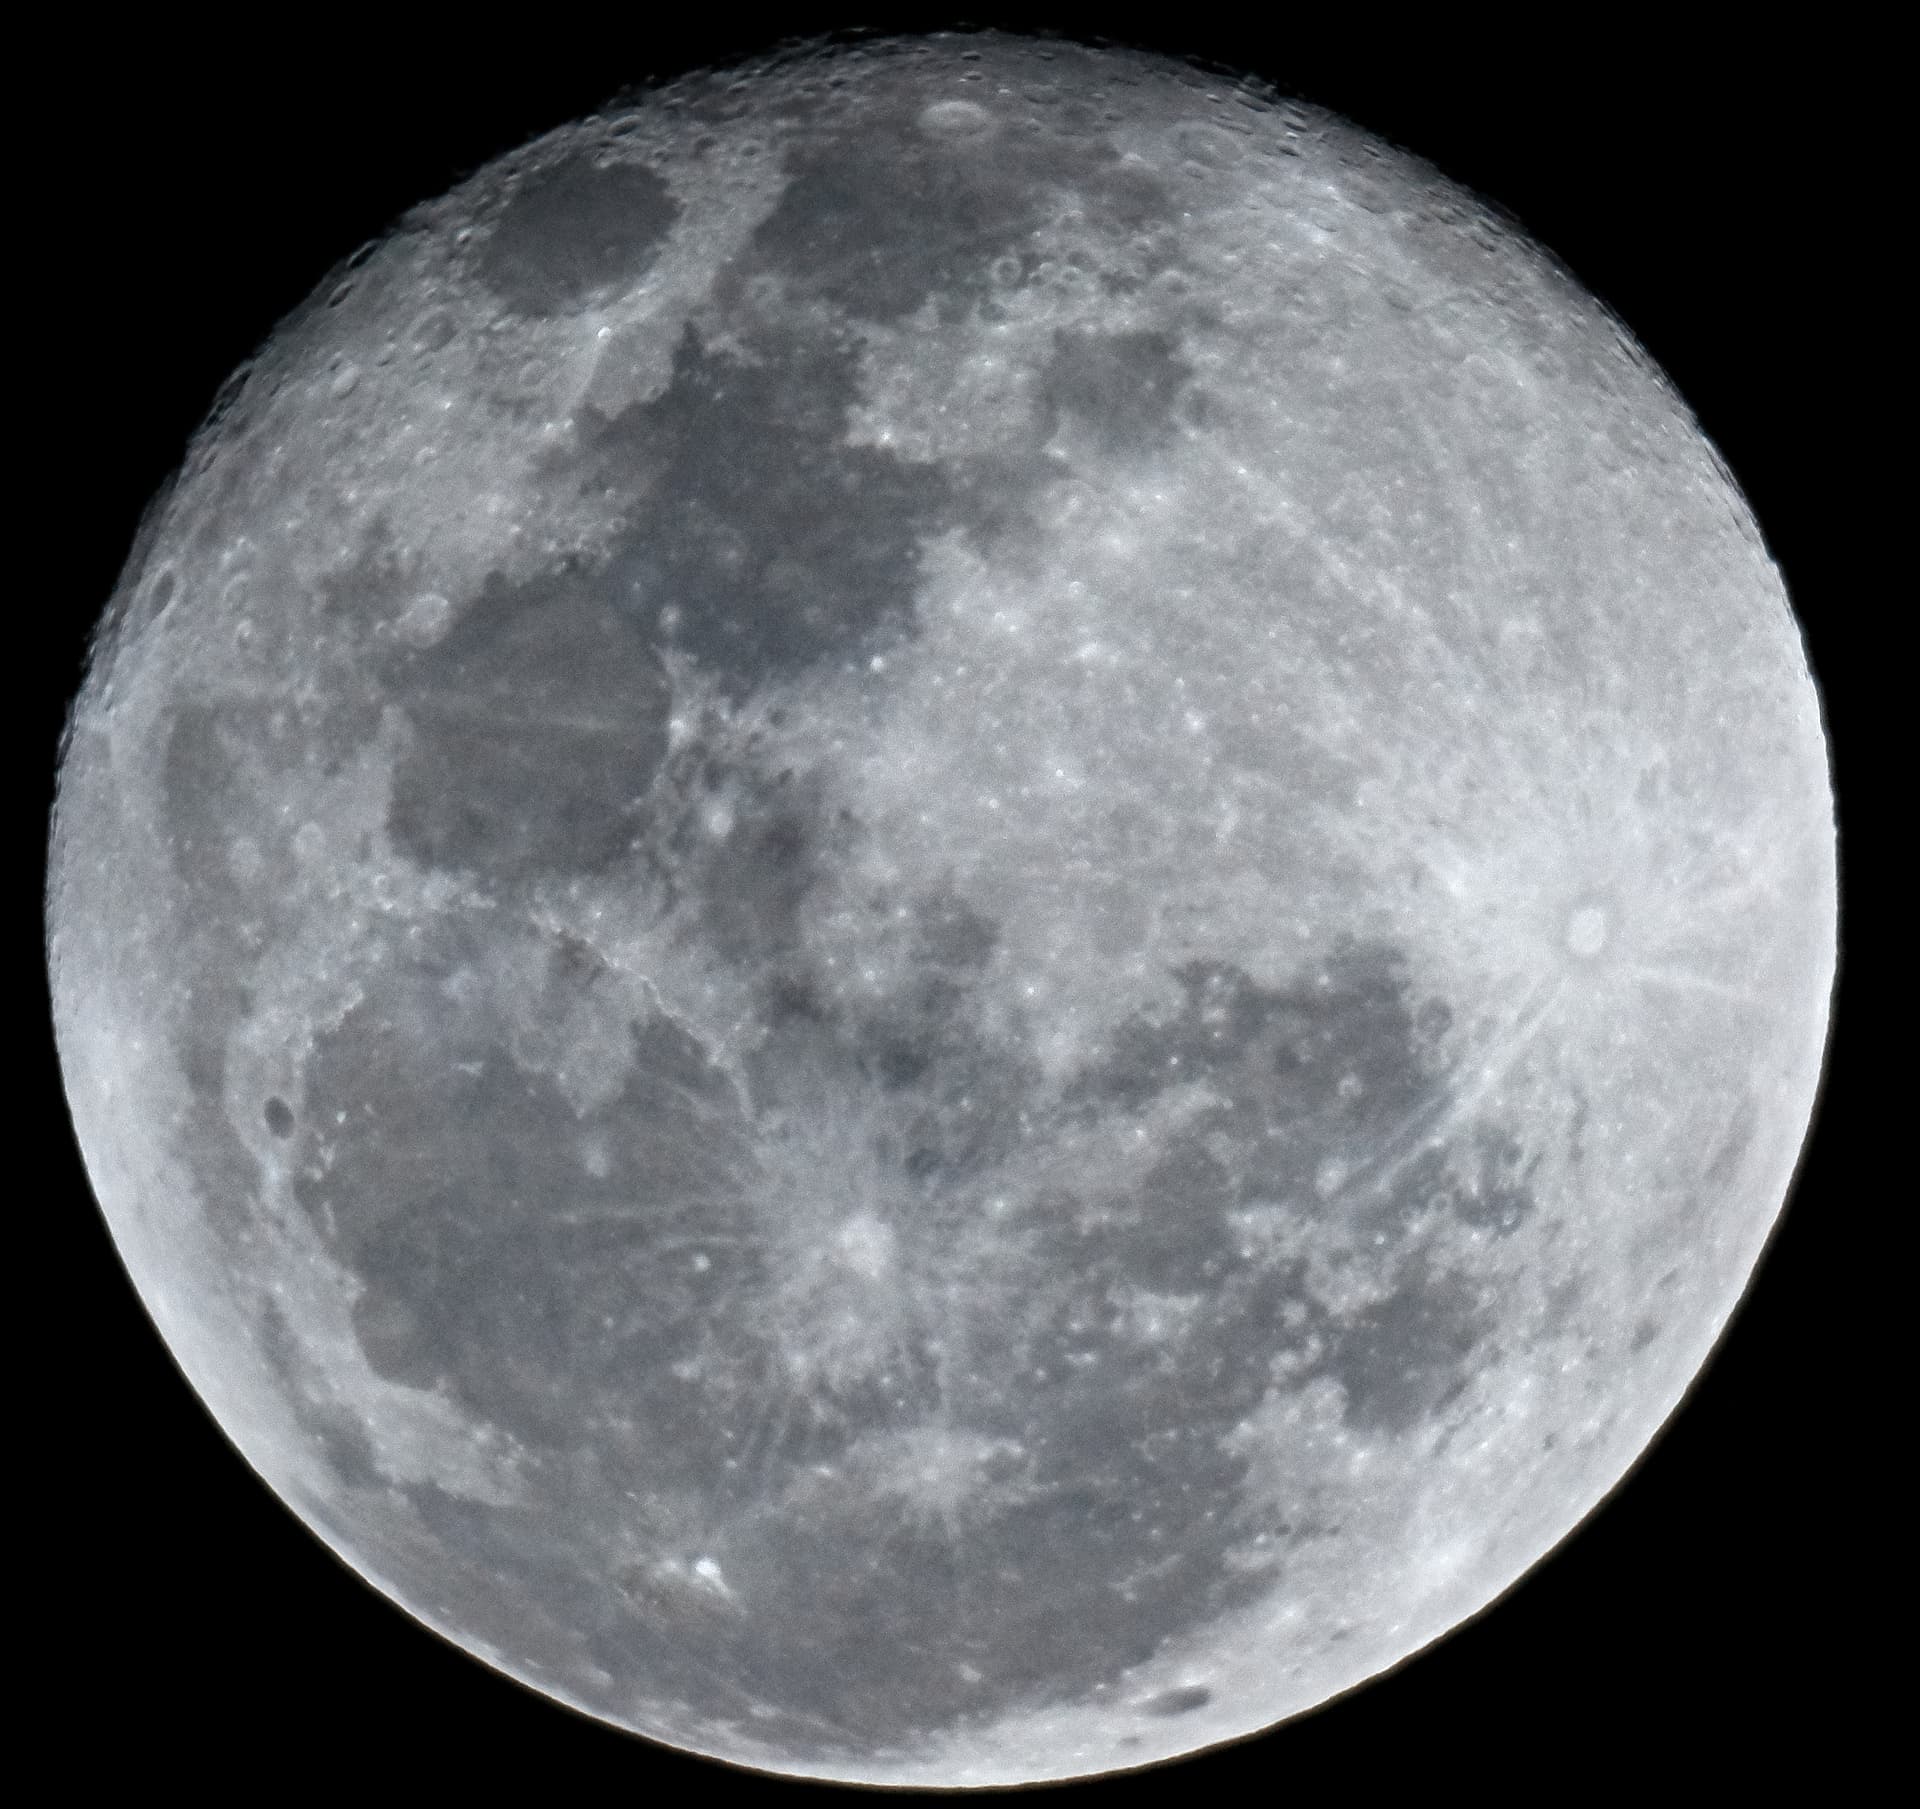
Output:
Here is the Image of untracked Moon Captured with RPI HQ Camera and stacked together, the camera was connect to Celestron Astromaster 130 EQ using a C/CS to 1.25" adaptor.